
How to Install OpenClaw on Ubuntu VPS: Configuration & Dashboard Access
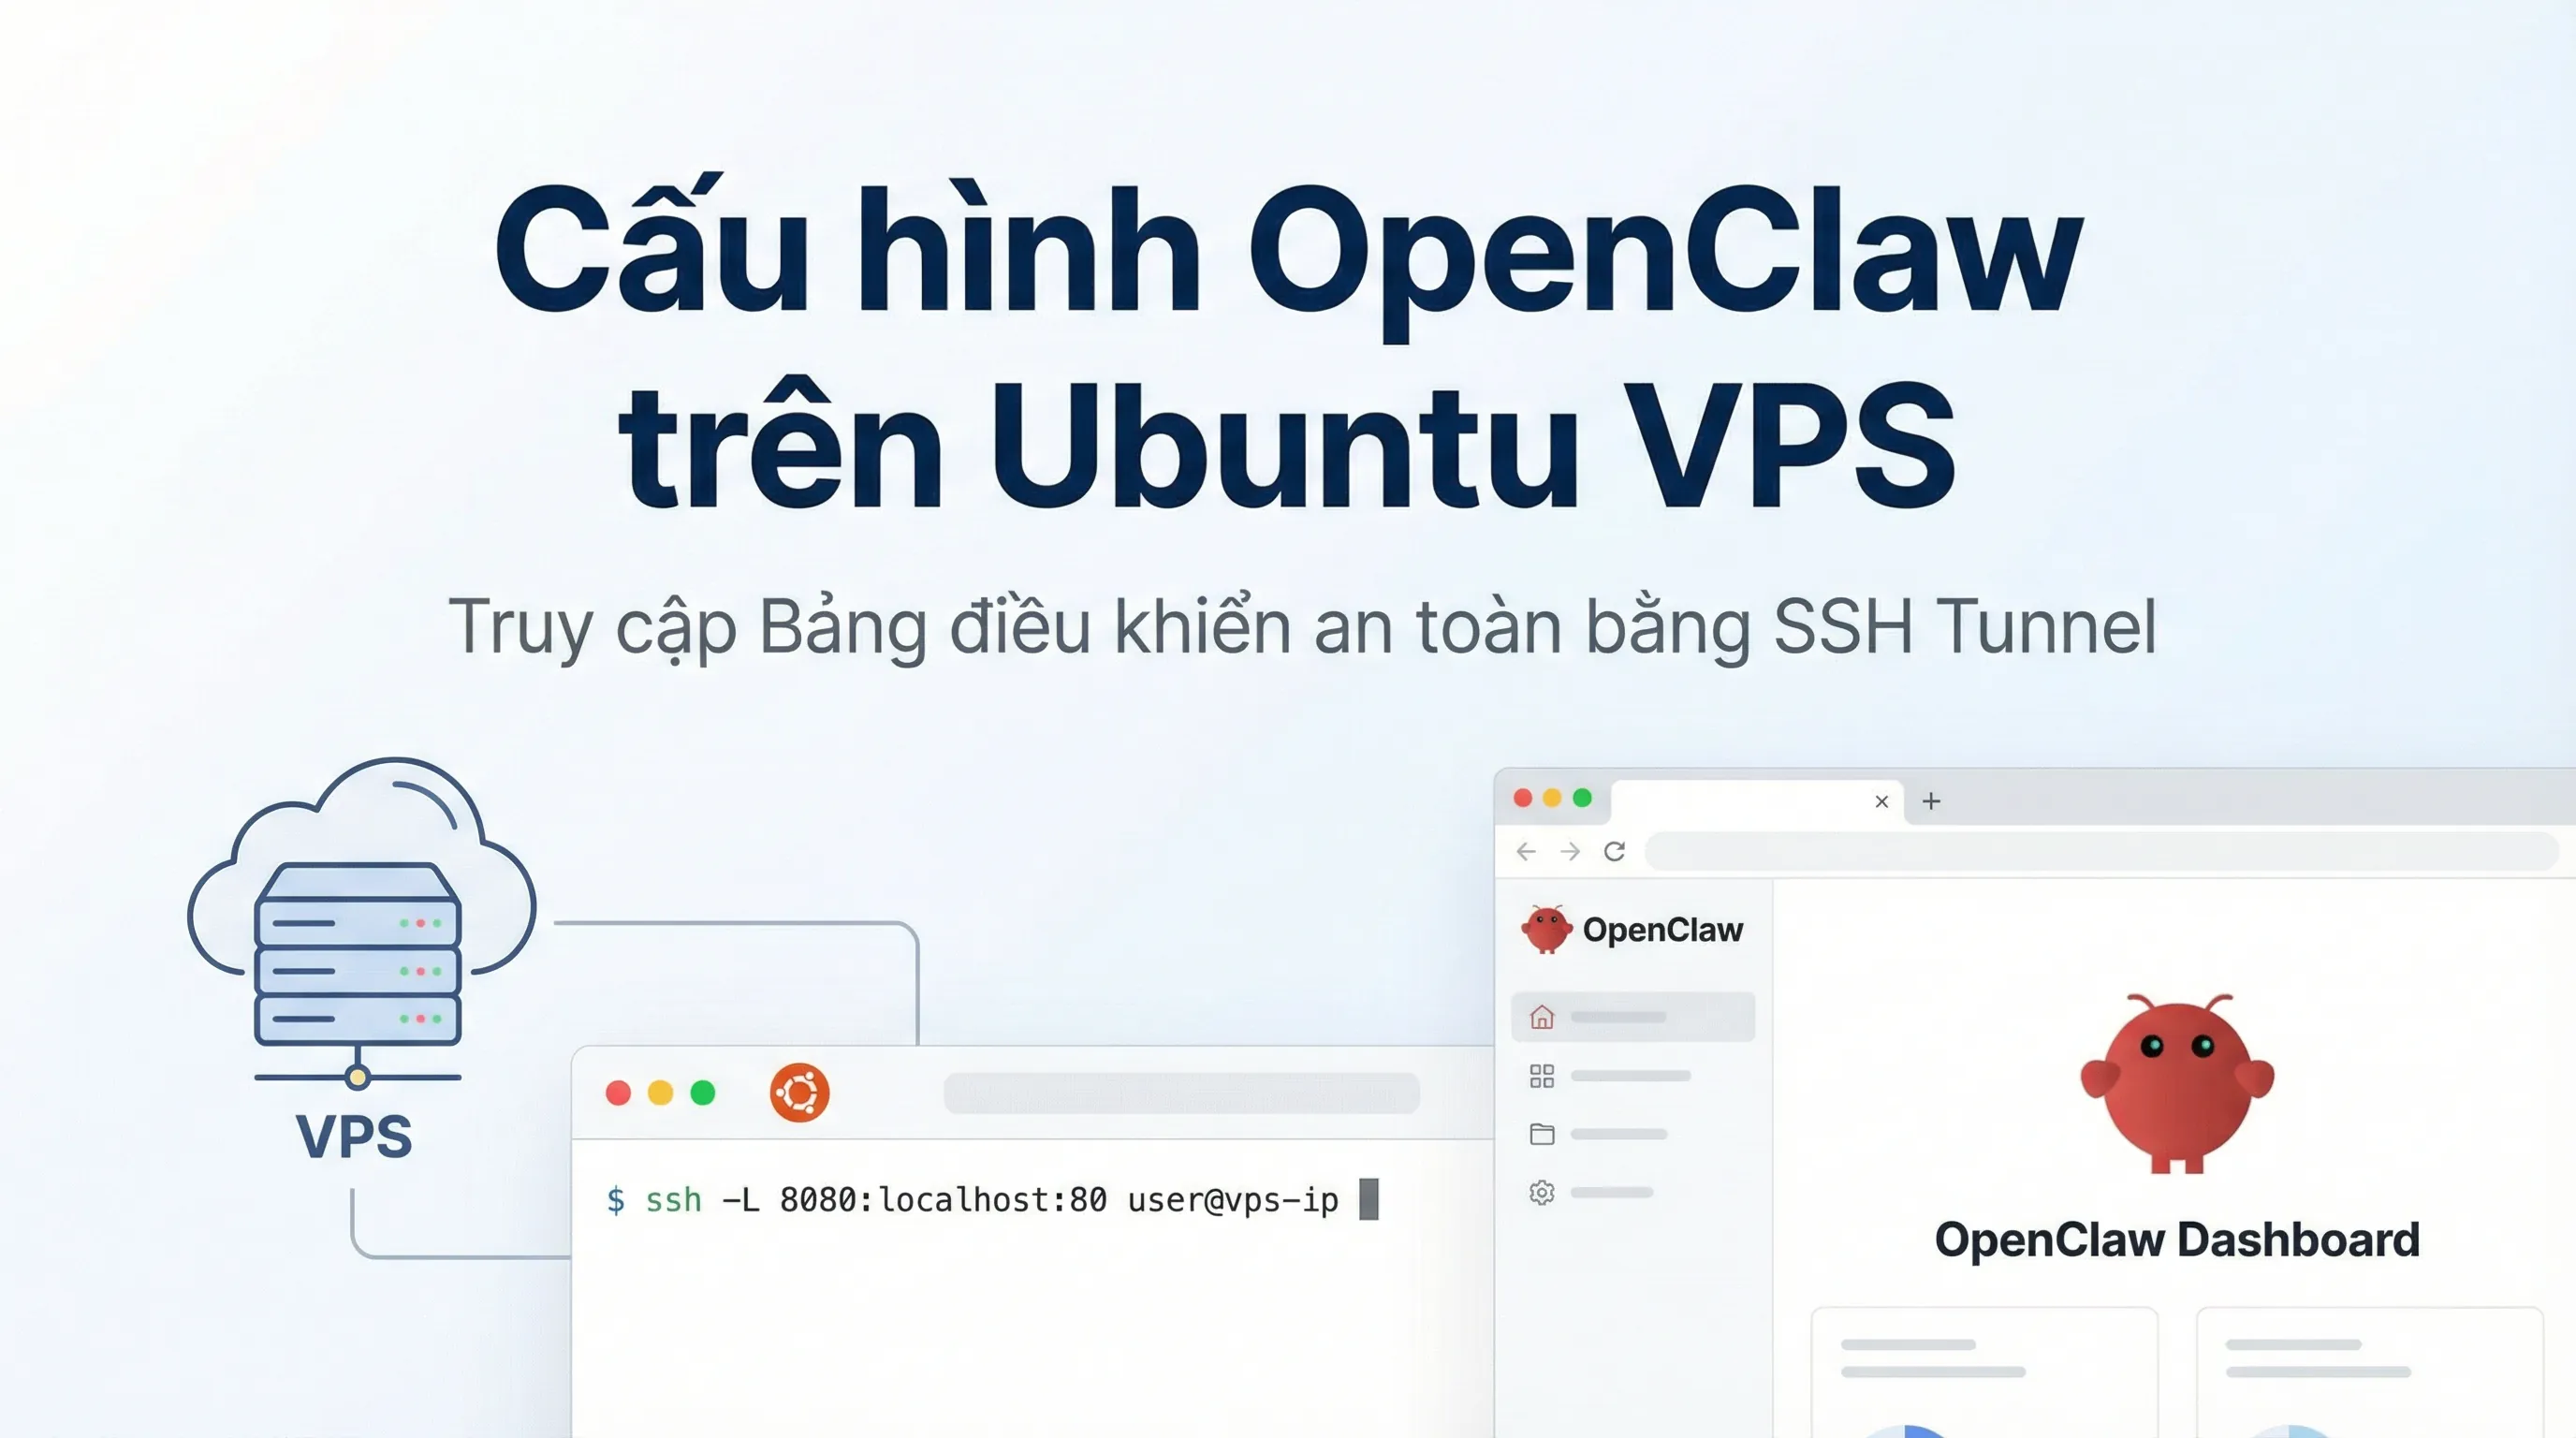
How to Install OpenClaw on Ubuntu VPS (Step-by-Step Guide)
Deploying OpenClaw on a VPS ensures your AI assistant operates stably 24/7, independent of your personal computer. However, installing it on a Linux environment without a graphical interface (headless) presents some challenges regarding account authentication and accessing the management Dashboard.
Installation Guide for OpenClaw on Ubuntu VPS
Step 1: Connect to the VPS
First, you need to connect to your VPS. I highly recommend using MobaXterm (instead of Putty or the default Terminal) because we will need its built-in Tunneling feature in the later steps.
- Open MobaXterm.
- Select Session -> SSH.
- Enter your VPS IP in the Remote host field.
- Enter the username (usually
root) and Port (default22).
Step 2: Run the Installation Commands
In the VPS command line window (Terminal), run the following commands sequentially to download and install OpenClaw:
1. Download and run the automated install script:
curl -fsSL [https://openclaw.ai/install.sh](https://openclaw.ai/install.sh) | bash -s -- --install-method git
2. Initialize Configuration and Daemon:
openclaw onboard --install-daemon
The system will ask for some configuration details:
- Select Yes to agree to the terms.
- Select QuickStart for a fast installation and press Enter.
- Highlight the link in MobaXterm, hold Ctrl + Right Click and select Copy.
- Paste that link into the browser on your personal computer (Windows/Mac).
- Log in to your OpenAI/Service account.
- Once done, the browser will redirect to a localhost link containing a token code. Copy this entire result link.
- Go back to MobaXterm, paste the copied link, and press Enter.
Step 3: Connect Telegram and Pair VPS
After successfully installing the core, you need to connect it to a Telegram Bot:
- Create a new Bot on Telegram via BotFather to get the API Token.
- Run the following command to activate the OpenClaw node with a custom display name:
npm i -g openclaw
openclaw node run --host localhost --port 18789 --display-name "My VPS Bot"
At this point, your Telegram Bot is active and can respond to messages.
How to Access the OpenClaw Dashboard from Your Computer (Tunneling)
This is the most critical part. By default, the OpenClaw management Dashboard only runs at localhost:18789 on the VPS. To access this interface from your home computer without opening a public port (which is insecure), we use a technique called SSH Tunneling.
1. Retrieve the Login Token
First, you need to get the security Token for OpenClaw on the VPS. Use the following command to read the configuration file:
cat /root/.openclaw/openclaw.json
Find the line containing the token code (usually around line 24 in the JSON file).
The full access link will have the structure: http://127.0.0.1:18789/?token=YOUR_TOKEN_HERE
2. Configure Tunnel on MobaXterm
Return to the main interface of MobaXterm, look at the toolbar, and select the Tunneling icon.
A new window will appear; configure it as follows:
- Click the New SSH tunnel button.
- Check the Local port forwarding option.
- Fill in the parameters exactly:
- Forwarded port:
18789(Port on your local computer) - SSH server: Enter your VPS IP address.
- SSH login:
root. - SSH port:
22. - Remote server:
127.0.0.1(Internal address of the VPS). - Remote port:
18789(OpenClaw port on the VPS).
- Click Save.
After saving, click the Play (Start) button (triangle icon) to start the Tunnel.
If you see the status icon turn green with two rotating arrows, the connection is successful.
3. Open the Management Dashboard
Now that the secret tunnel is established, you just need to open the Chrome/Edge browser on your computer and visit:
http://127.0.0.1:18789/?token=YOUR_TOKEN_CODE
Рекомендуемые товары

Похожие статьи

Gemini 4 Carbon Explained: Features, Benchmarks, Availability & Argon Comparison
Google's Gemini 4 Carbon: October 2026 launch, AI coding and cybersecurity benchmarks, API pricing, availability and comparison with Gemini 4 Argon.
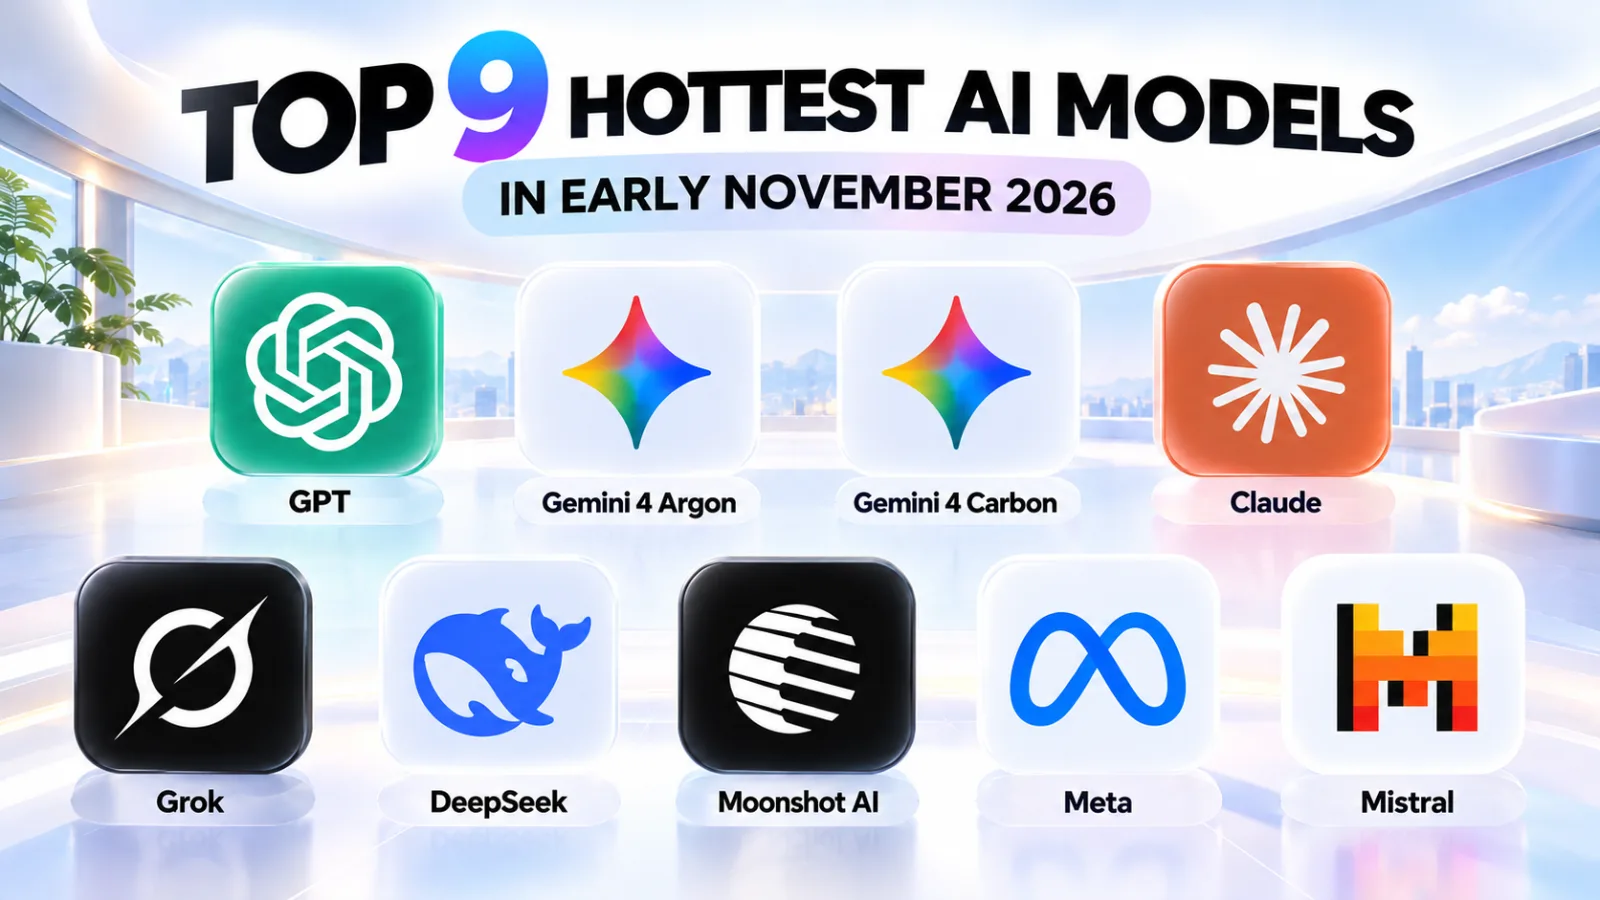
Top 9 Hottest AI Models in Early November 2026: GPT-6, Gemini 4, Claude 5.5
Top 9 AI models in November 2026: GPT-6, Gemini 4 Argon, Claude 5.5, Grok 4.7, and DeepSeek V4.1. Compare AI coding, deep reasoning, and AI Agent power.
Google Veo 3: Veo 3.1 Lite 0 Credit Removed from Ultra
Google update removes Veo 3.1 Lite 0 Credit from the Ultra plan. Check out the latest policy announcement and workflow solutions from EmpireX.
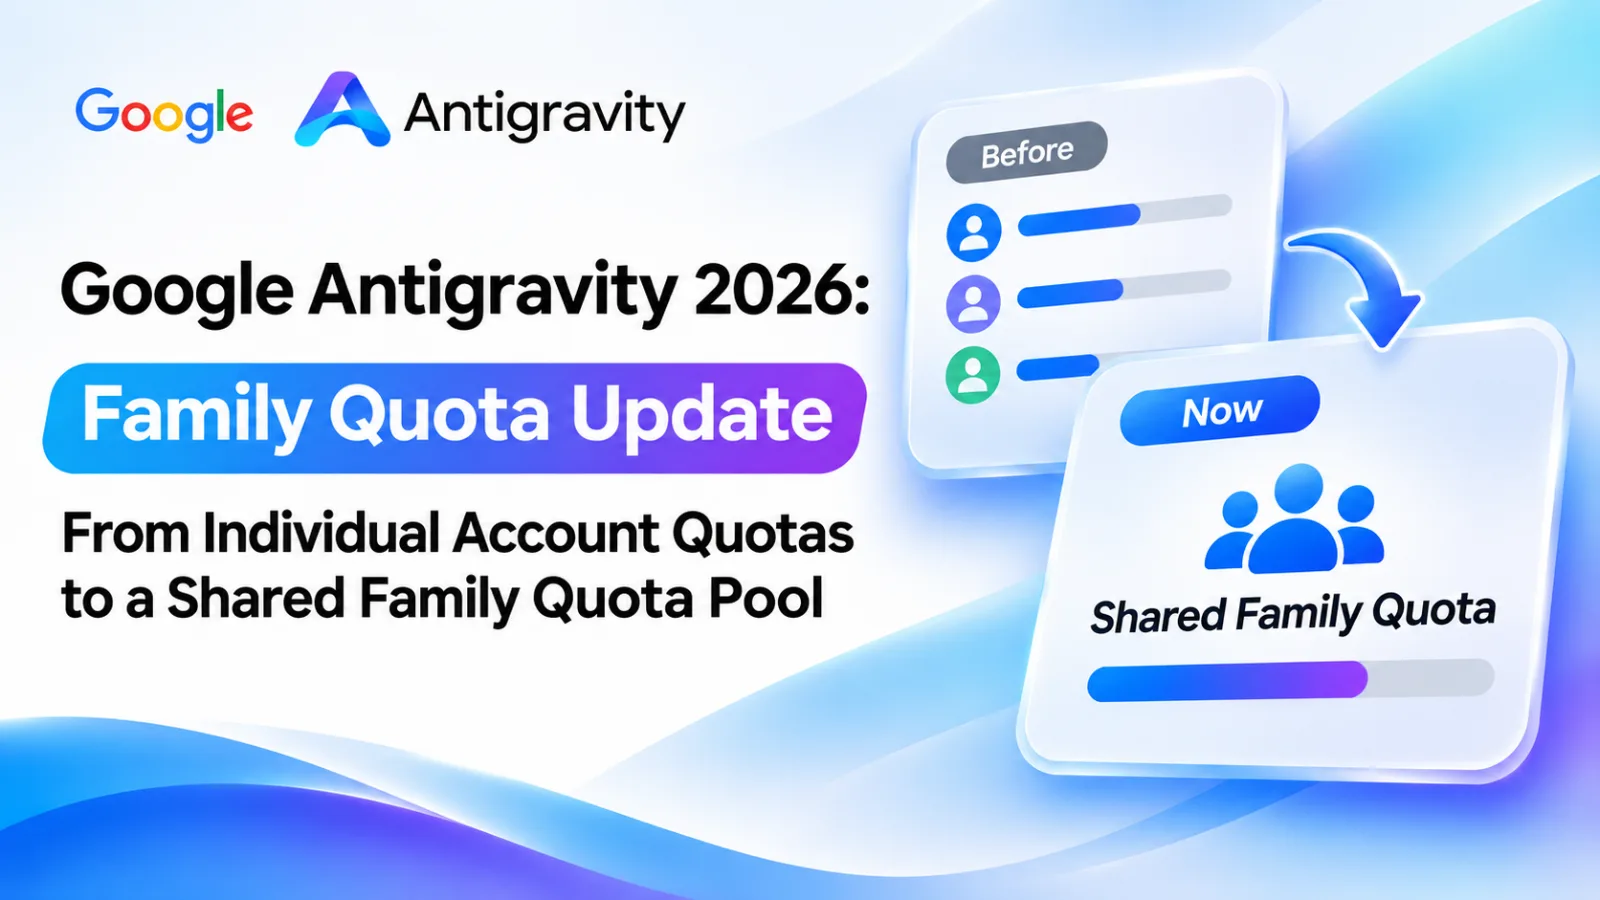
Google Antigravity 2026: Family Quota Changes – From Individual Account Limits to a Shared Quota Pool
Google has updated Antigravity's quota system, shifting from individual account limits to a shared Family quota pool. Discover the timeline, supporting evidence, and how these changes affect users.